Account Setup
Get started with B3X AI Navigator in minutes. This guide walks you through creating your account, setting up your embedded wallet, and delegating signing authority to enable AI-powered trading.
Prerequisites
Before you begin, ensure you have:
- A valid email address
- A modern web browser (Chrome, Firefox, Safari, or Edge)
- Stable internet connection
Step 1: Sign in with email
B3X AI Navigator uses Privy for secure, passwordless authentication.
Access the platform
- Navigate to chat.b3x.ai
- Click the "Login" button in the top-right corner
- The Privy authentication modal will appear

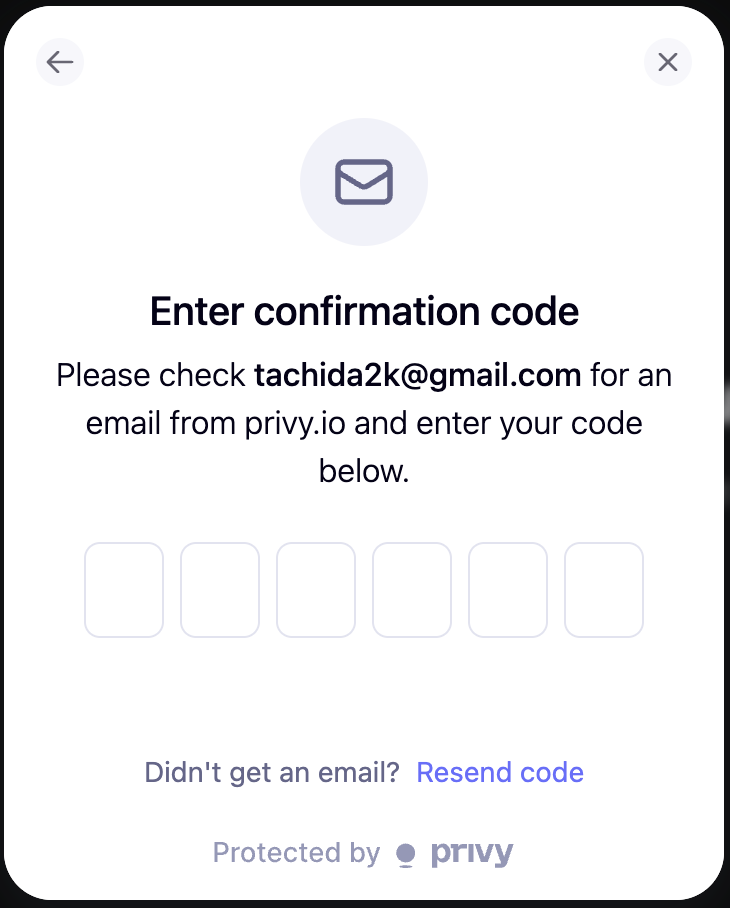
Email authentication
- Enter your email address in the provided field
- Click "Submit"
- Check your email inbox for a verification code
- Enter the 6-digit confirmation code in the authentication modal
What Happens Next:
- Privy automatically creates an embedded wallet for you
- Your wallet is secured with industry-standard encryption
- The wallet address is derived from your email authentication
The verification code expires after 10 minutes. If you don't receive the email, check your spam folder or request a new code.
Step 2: Embedded wallet creation
Upon successful email verification, Privy automatically creates a secure embedded wallet for your account.
Wallet details
Your embedded wallet:
- Type: Ethereum-compatible (EVM) wallet
- Security: Private keys encrypted and managed by Privy
- Custody: Non-custodial (you maintain full control)
- Network Support: All EVM-compatible blockchains
Viewing your wallet address
After authentication, you can view your wallet address:
- Navigate to Settings from the sidebar
- Locate the Account Information section
- Your wallet address is displayed in the format:
0x...
Your wallet address is permanent and tied to your email. It cannot be changed once created.
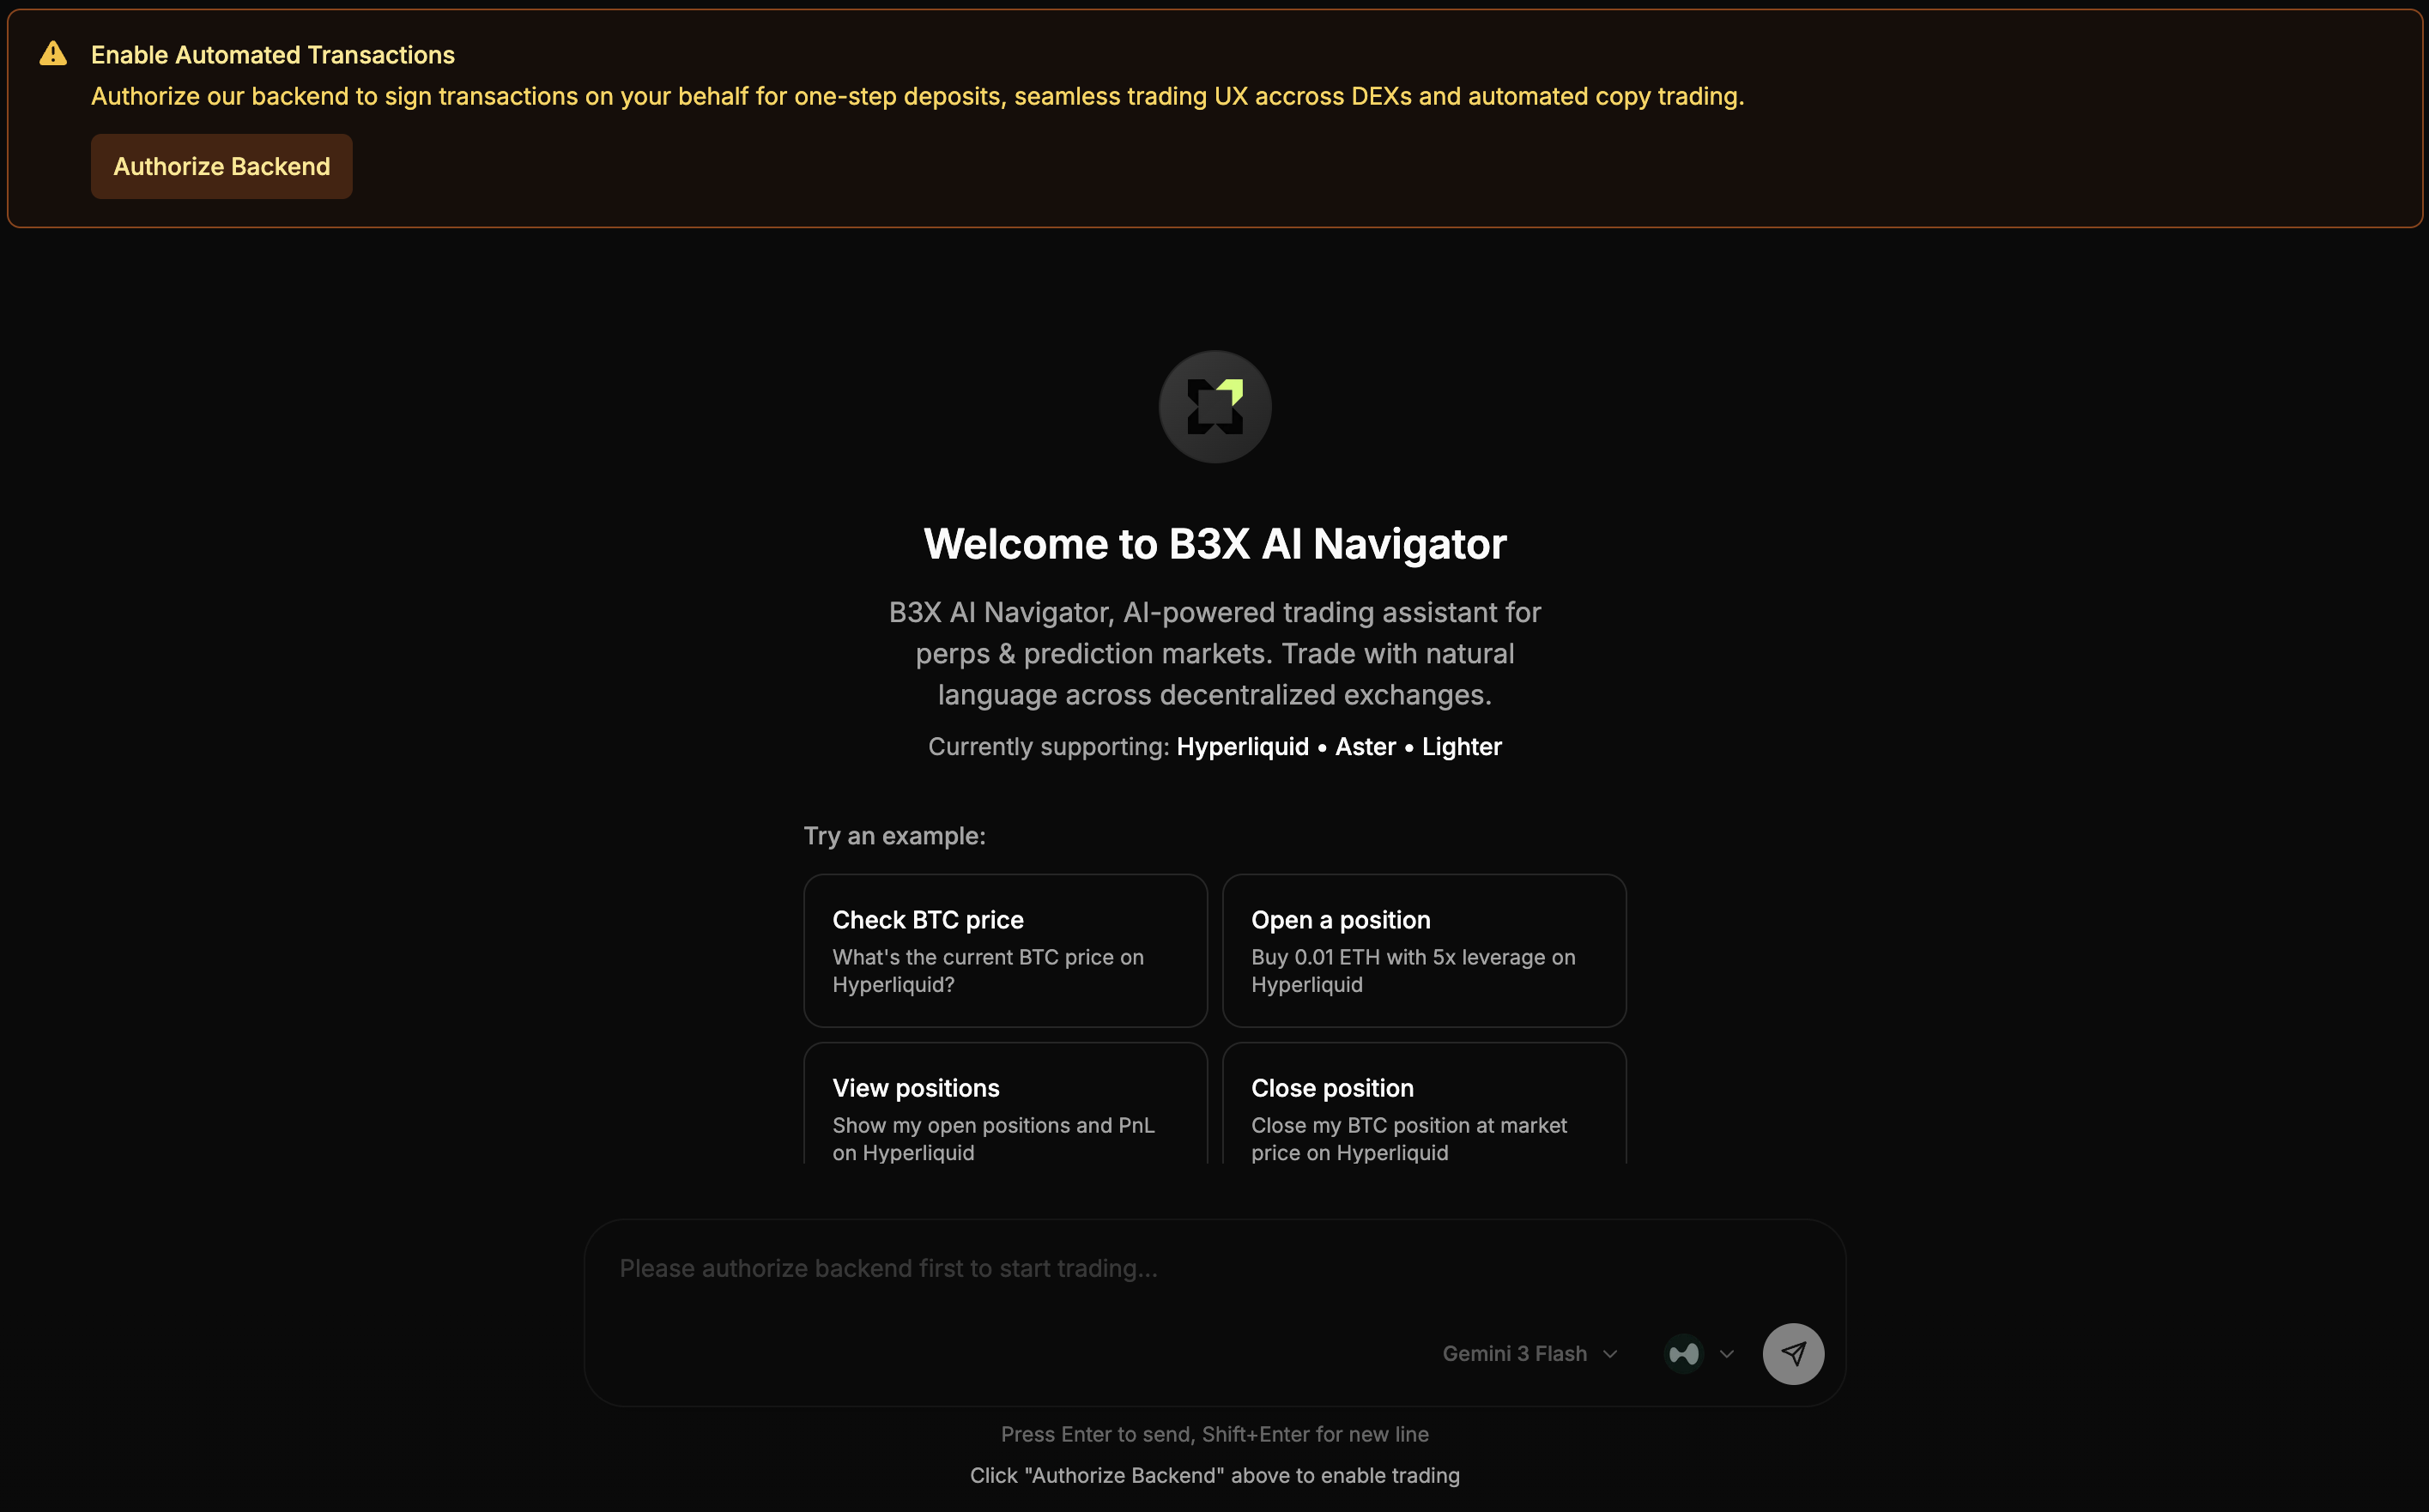
Step 3: Delegate signing authority
To enable AI-powered automated trading, you must delegate signing authority to the B3X backend. This allows the AI agent to execute trades on your behalf while you maintain full custody of your funds.
Understanding session signing
Session signing is a security mechanism that:
- Grants the backend time-limited signing authority
- Allows automated trade execution without manual approval
- Maintains your private key security (keys never leave Privy's infrastructure)
Delegation process
- Navigate to Settings from the sidebar
- Locate the Backend Signing in Wallet Security section
- Click "Enable"
- Wait for the delegation confirmation
Delegation Status:
- ✅ Delegated: Backend can sign transactions on your behalf
- ❌ Not Delegated: You cannot trade on B3X AI Navigator
Delegation grants the backend signing authority for your embedded wallet. Only delegate on the official B3X AI Navigator platform.
Verifying delegation
After delegation:
- The Backend Signing section shows status: "Enabled"
- You can now use AI chat commands to execute trades
Step 4: Configure DEX access
B3X AI Navigator supports multiple DEXs with different authentication requirements.
Hyperliquid
Authentication: Wallet-based (no additional setup required)
Hyperliquid uses your embedded wallet address for authentication. No API keys needed.
Ready to Trade: ✅ Immediately after delegation and your first deposit
Aster
Authentication: Wallet-based + API Key (auto-generated)
Aster requires API credentials for trading, but B3X handles this automatically:
Setup Process:
- Navigate to Settings or Portfolio
- Click "Deposit" button
- Select the Aster tab in the deposit modal
- Make your first deposit to Aster
- The backend automatically generates and configures your API key
Ready to Trade: ✅ Immediately after your first deposit
No manual API key configuration needed! B3X automatically creates and securely stores your Aster API credentials when you make your first deposit.
Lighter
Authentication: Wallet-based + API Key (auto-generated)
Lighter requires API credentials for trading, but B3X handles this automatically:
Setup Process:
- Navigate to Settings or Portfolio
- Click "Deposit" button
- Select the Lighter tab in the deposit modal
- Choose your source chain (Arbitrum, Base, or Avalanche)
- Make your first deposit to Lighter
- The backend automatically generates and configures your API key
Ready to Trade: ✅ Immediately after your first deposit
No manual API key configuration needed! B3X automatically creates and securely stores your Lighter API credentials when you make your first deposit.
Account setup checklist
Before you start trading, verify:
- ✅ Email authenticated successfully
- ✅ Embedded wallet created and address visible
- ✅ Signing authority delegated to backend
- ✅ Ready to deposit and trade on any DEX
Next steps
Your account is now ready for trading! Continue with:
- Funding Your Account - Deposit USDC to start trading
- First Trade Tutorial - Execute your first AI-powered trade
- AI Chat Basics - Learn natural language trading commands
Troubleshooting
Email Verification Code Not Received
Solutions:
- Check spam/junk folder
- Verify email address is correct
- Request a new verification code
- Wait 1-2 minutes for email delivery
Embedded Wallet Not Created
Solutions:
- Refresh the page and sign in again
- Clear browser cache and cookies
- Try a different browser
- Contact support if issue persists
Delegation Failed
Solutions:
- Ensure you're authenticated
- Verify embedded wallet exists
- Check browser console for errors
- Refresh the page and try again
Security best practices
- Never share your email verification codes
- Never share your DEX API keys
- Always verify you're on the official B3X domain
- Revoke delegation when not actively trading
- Use strong email security (2FA recommended)
- Monitor wallet activity regularly in Settings
Support
Need help with account setup?
- Discord: discord.gg/Fz7aDWkp
- GitHub: github.com/b3x-ai
- Documentation: Browse other guides in this documentation